Here’s everything about the parts of a laptop charger including their names and functions:
Your laptop charger supplies power to your laptop and charges its battery.
While laptop chargers are not made equal, there are 6 components that are typically present in an average laptop charger.
Those parts include the power plug, transformer, rectifier, filters and regulators, ferrite bead, and charger connector.
So if you want to learn all about the parts of your laptop charger, their names, and their functions, then this article is for you.
Let’s jump right in!
- Cell Phone Charger Parts: Names & Functions?
- Mechanical Keyboard Switch Parts: Names & Functions?
- Mechanical Keyboard Parts: Names & Functions?
- Wireless Cell Phone Charger Parts: Names & Functions?
- Vape Mod Parts: Names & Functions?
What Are the Parts of Your Laptop Charger? (6 Parts)
A laptop charger is an electronic device used to charge your laptop’s battery.
Laptop chargers, sometimes known as laptop adapters, are basically a type of external power supply unit.
Based on where you live, they can also be known by many other names such as power brick, power adapter, wall charger, etc.
But no matter what the device is called, they more or less serve the same primary function; to supply power to your laptop and charge its battery.
The laptop charger itself is made of different components and circuits that allow it to output the electric current that your laptop needs.
The primary function of your laptop charger is to convert the incoming AC (Alternating Current) from your power outlet to a DC (Direct Current) that the charger can use.
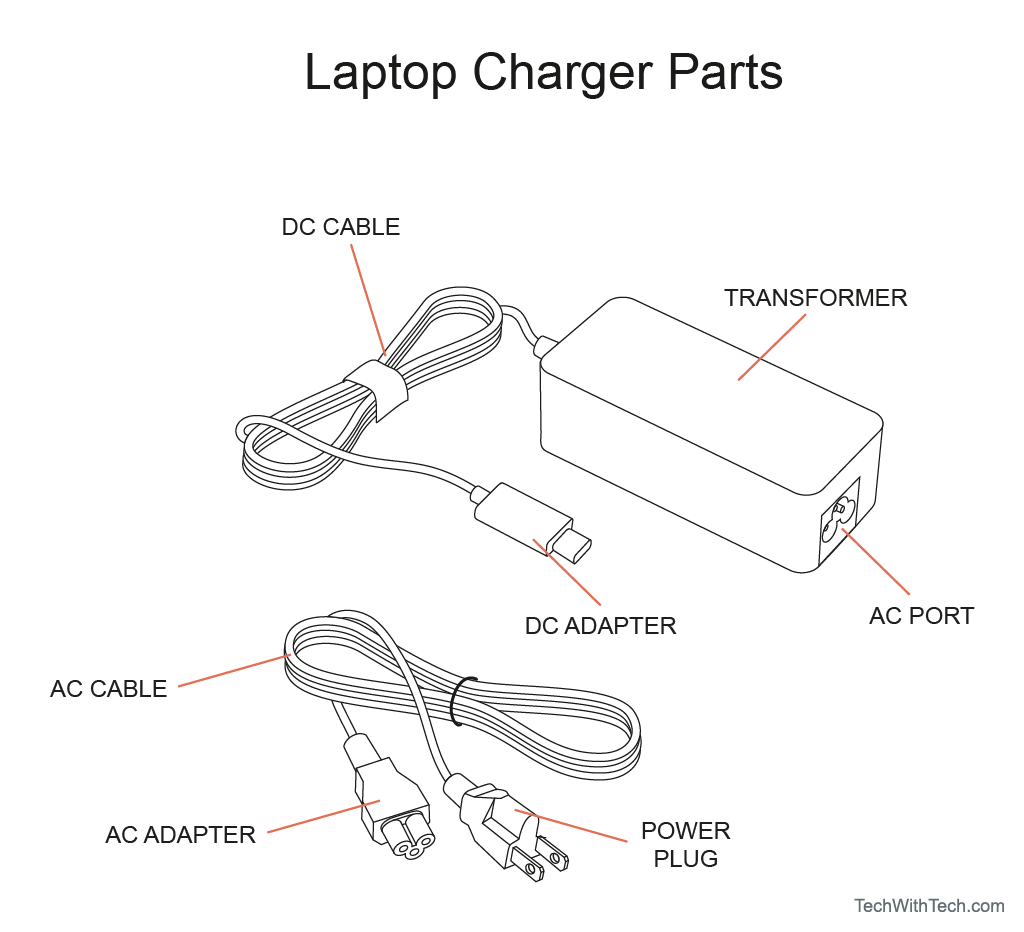
Below are the main parts of an average laptop charger and their function.
It is important to note that not all laptop chargers are made identical.
Some have extra components and circuits to add additional functionality.
But the following parts can be found in any average laptop charger you come across.
#1 Power Plug
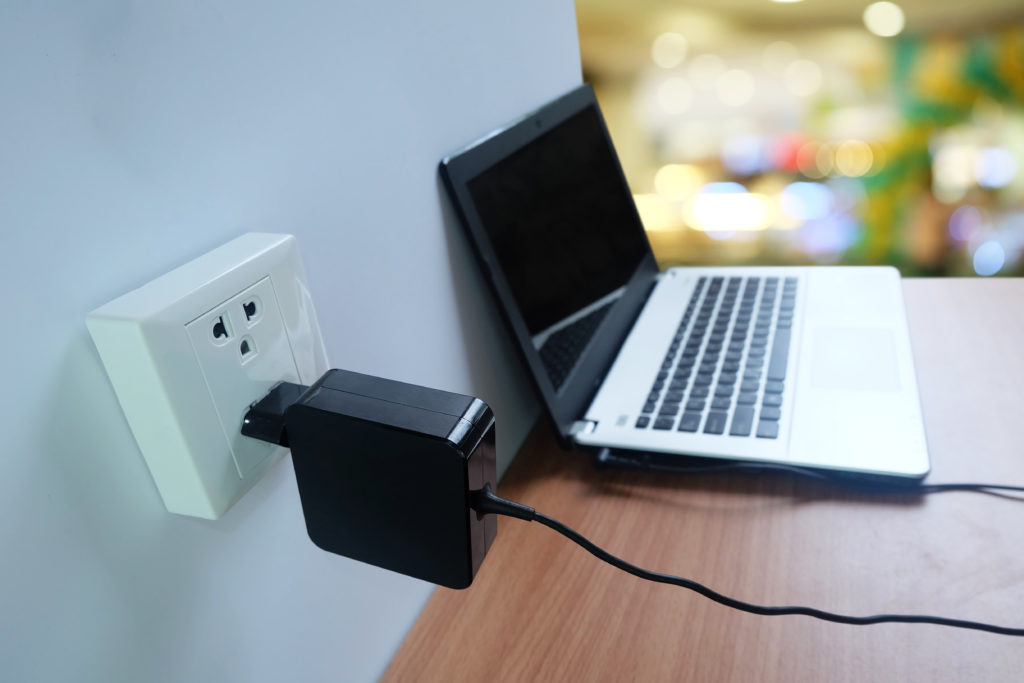
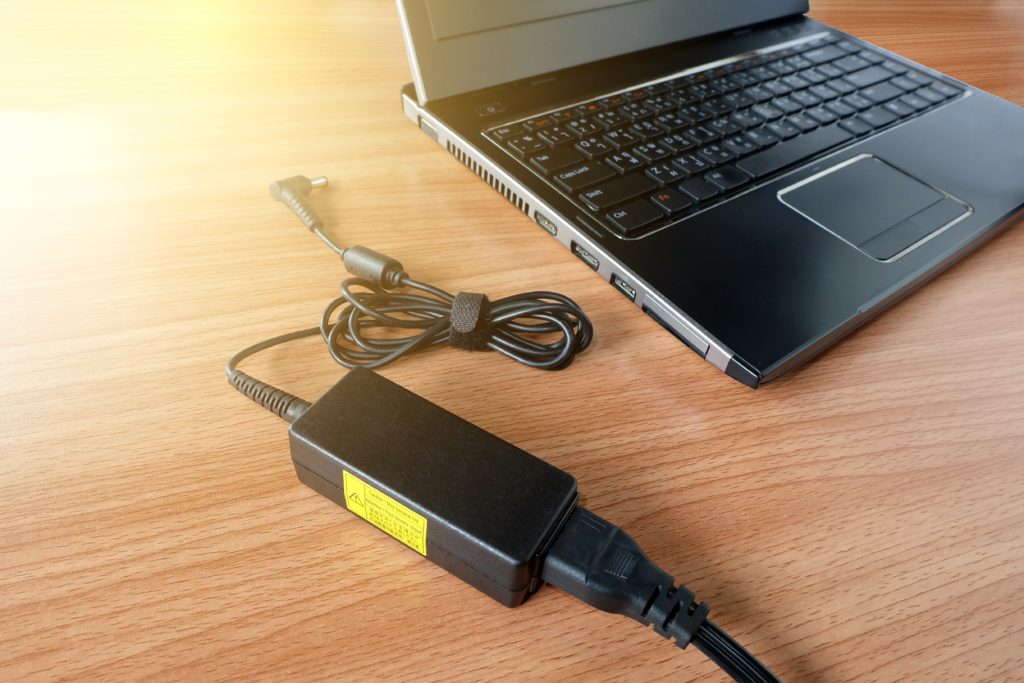
The first part of any laptop charger is the power plug.
This power plug is what connects to the power outlet in your home or office.
The most common power plugs are 1.5 mm AC power plugs.
They come with a cord attached to them.
There is a male plug on one end that goes into the female power outlet on the wall.
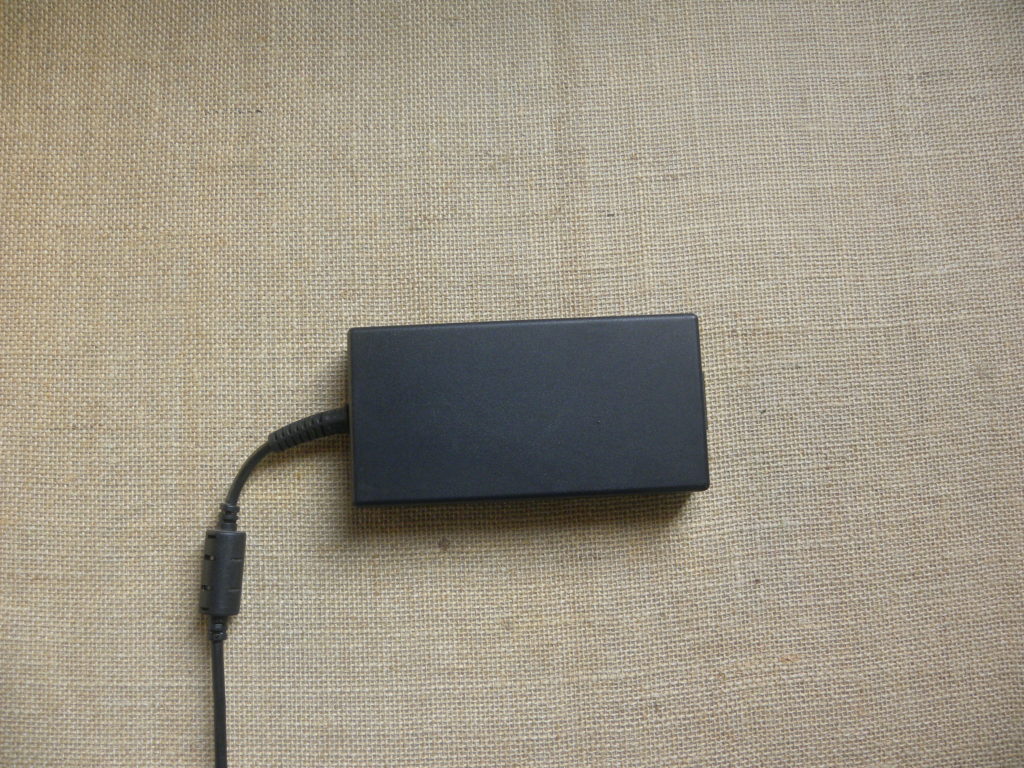
In some chargers, the other end is permanently fixed to the “power brick.”
The power brick contains the circuits and components needed for a laptop charger that we will discuss further in this list.
In other laptop chargers, the other end of the power cord has a female plug that can be taken out of the power brick.
This allows you to change power bricks without buying a new power plug or vice versa.
#2 Transformer
The current coming from the AC power plug goes to the transformer circuit in the power brick.
No, this is not that transformer.
A transformer in real life is a commonly used circuit that can either step up the voltage of incoming current or step down the voltage of incoming current.
But why is there a need for a transformer in a laptop charger, you ask?
Well, the current in your wall outlet is at a really high voltage.
So, if this current is not stepped down to a lower voltage, it will fry the circuits in your laptop.
Same as with a cell phone charger.
The electronics in your laptop are designed to work at really low voltages compared to the electric current you get in wall outlets.
Now you might ask, why don’t we just get our power in low voltage if all the electronics like laptops work with lower voltages?
Well, without making this a lecture on electronics, there are simply advantages to using high voltages to transmit electricity over long distances.
In fact, voltages are stepped down before the current reaches your home.
These transformers usually serve whole neighborhoods.
Usually, power outlets in US homes receive current at 120 volts, while Europeans prefer 220 volts.
In either case, this voltage needs to be stepped down before it is fed into the laptop charger.
Once the current is stepped down to a lower voltage, it is fed into the next part inside a laptop charger, which is the AC/DC rectifier circuit.
#3 Rectifier
An AC/DC rectifier circuit converts the incoming AC current into DC current.
It doesn’t have to be a rectifier; it could be any AC to DC converter circuit.
But diode rectifiers are the most popular way to convert AC to DC.
This circuit is needed because the incoming current is AC (Alternating Current), while our laptop needs DC current to function.
Power companies use AC instead of DC for transmission because it is just not possible to transmit DC over long distances.
But on the other hand, most electric appliances in your homework are on DC or Direct current.
So, this current needs to be converted into DC from AC before going to the laptop.
#4 Filters and Regulators

Once the current is turned into DC after going through a rectifier, it goes into filter and voltage regulator circuits.
These can be smoothing circuits or capacitors.
Here is a very brief explanation without making this into a college-level electronics course.
The reason we need filters is that the current coming out of a rectifier is janky.
If you look at the sine wave of the current coming out, you will see this current is rough.
Filter circuits smooth out this current, so constant and reliable power is supplied to the laptop.
Essentially smoothing circuits work by storing a little bit of energy and releasing it when there is no voltage output coming from the rectifier.
This reduces the ripples in the power supply.
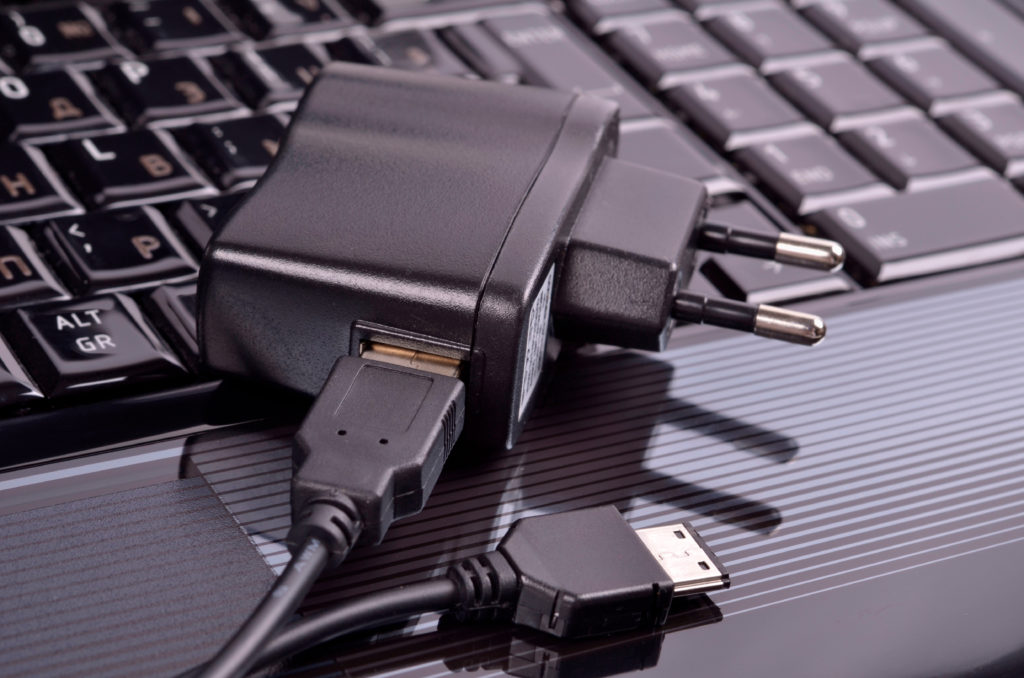
#5 Ferrite Bead
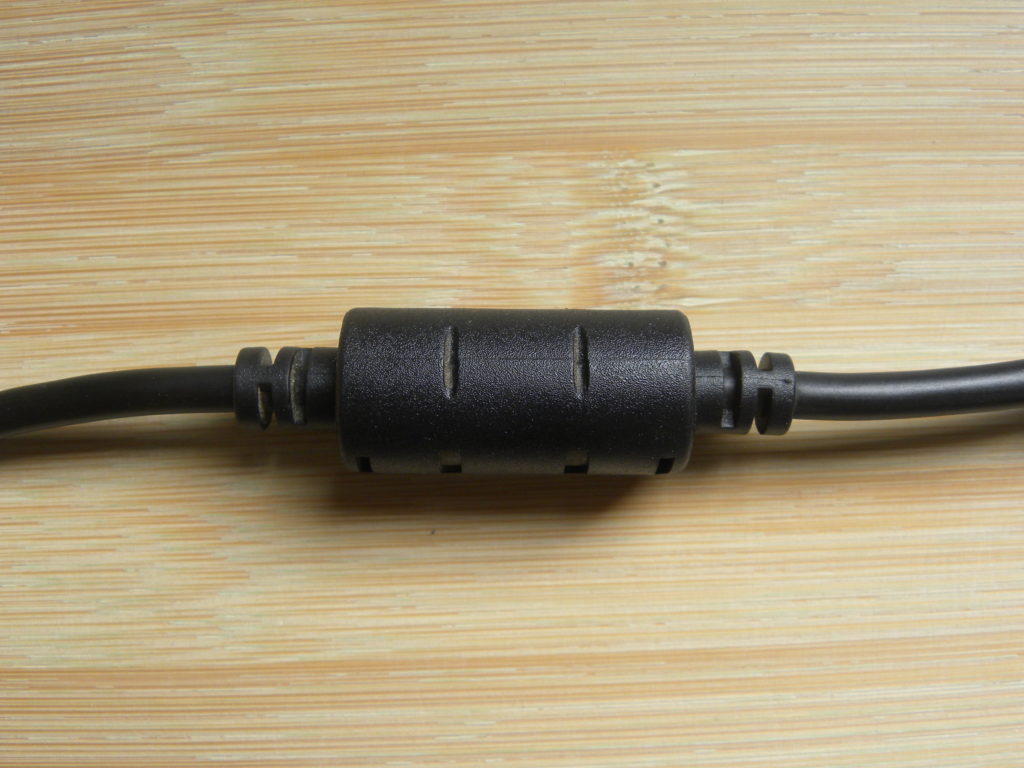
You might have noticed that the power cord that is coming from the power brick has a cylindrical module-type thing at the end.
Well, this cylinder at the end of the wire is called a ferrite bead or a ferrite choke.
However, the latest USB-C power cables don’t require ferrite beads anymore, so you’ll mostly find them with older laptops.
A ferrite bead is a magnetic material with a wire wound through it.
The purpose of this part is to make sure the wire doesn’t unintentionally turn into a radio.
A radio? you ask.
How can a wire become a radio?
Well, any long wire is essentially an antenna.
This means that it can potentially transmit or receive radio waves.
This is not good if the wire that is supposed to transmit power to your laptop out of the blue becomes an antenna.
Without a ferrite bead, there can be a couple of scenarios:
- Your wire becomes an unintentional transmitter. This happens when there is a variation in the electrical flow of the current. It will cause the wire to become a temporary transmitter and start transmitting radio waves. These radio waves will begin interfering with nearby devices and even your laptop.
- Your wire becomes an unintentional receiver. Then nearby devices that are intentionally or unintentionally transmitting radio waves will start getting picked up by your temporary receiver, which in our case is the wire. These signals could start to interfere with the electrical current flowing inside the wire and cause disturbances in the power flow.
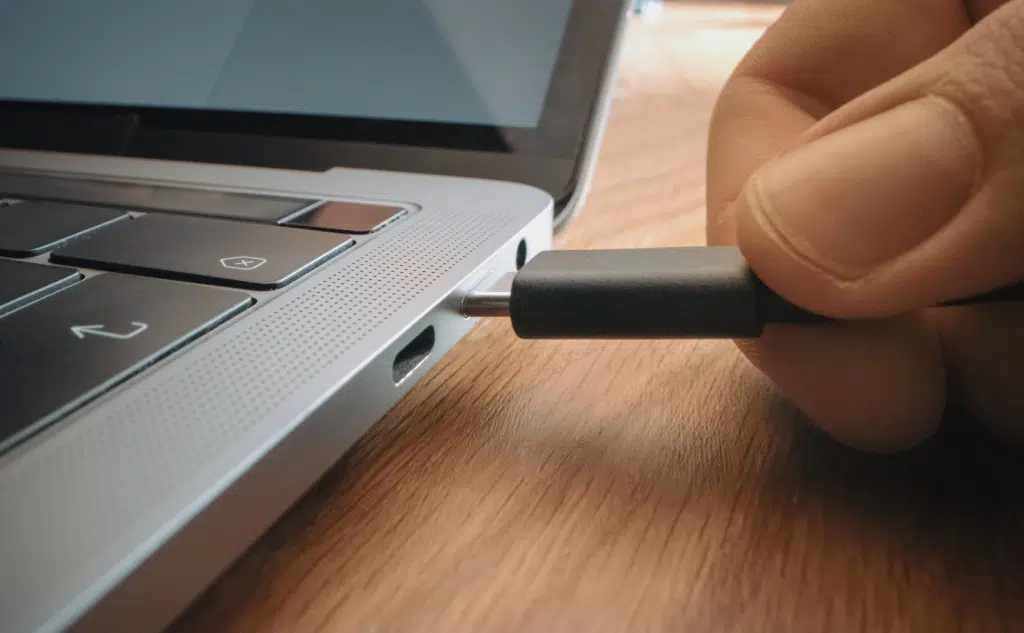
#6 Charger Connector

The last part of the laptop charger is the power connector.
This is the device that plugs into your laptop.
Laptop charger connectors can vary vastly between different manufacturers and brands.
They come in different shapes and sizes.
Connectors can come to be in cylindrical, square, and other weird shapes.
Brands like Dell and HP use 4,5/3,0 mm connectors.
Meanwhile, ASUS uses 4,0/1,35 mm.
Then you have companies like Apple that use proprietary designs like the Apple MagSafe design.
Nowadays, it is more and more common to see the USB type C connector to be used for charging.
The best part about USB Part C is that this connector is also used to transfer data.
So, users don’t have to carry separate wires for charging and data transfer.
What Are the Parts of a Laptop?

Here are the parts of a laptop:
- Laptop screen/display assembly
- Keyboard/top cover
- Touchpad
- Hard drive
- Hard drive connector cable
- Hard drive bracket
- Fan
- Heat sink
- Power connector cable
- Power button/USB board
- System board
- Solid state drives (M.2)
- Memory modules
- WLAN module
- Battery
- Speakers
- Bottom cover
Learn all about the parts of a laptop here.
- Cell Phone Charger Parts: Names & Functions?
- Mechanical Keyboard Switch Parts: Names & Functions?
- Mechanical Keyboard Parts: Names & Functions?
- Wireless Cell Phone Charger Parts: Names & Functions?
- Vape Mod Parts: Names & Functions?