Here’s how to use your Android phone’s mic with headphones or earbuds:
Using your phone’s built-in microphone with earbuds or headphones requires you to disconnect the phone from the microphone.
If your headphones don’t include a microphone, this is already done.
If they include a microphone, you can use software, apps, and a few techniques to disable the microphone and proceed.
If you want to learn all about using your phone’s built-in mic with your earbuds or headphones, then this article is for you.
Keep reading!

How Do You Select Headphones Without a Microphone?

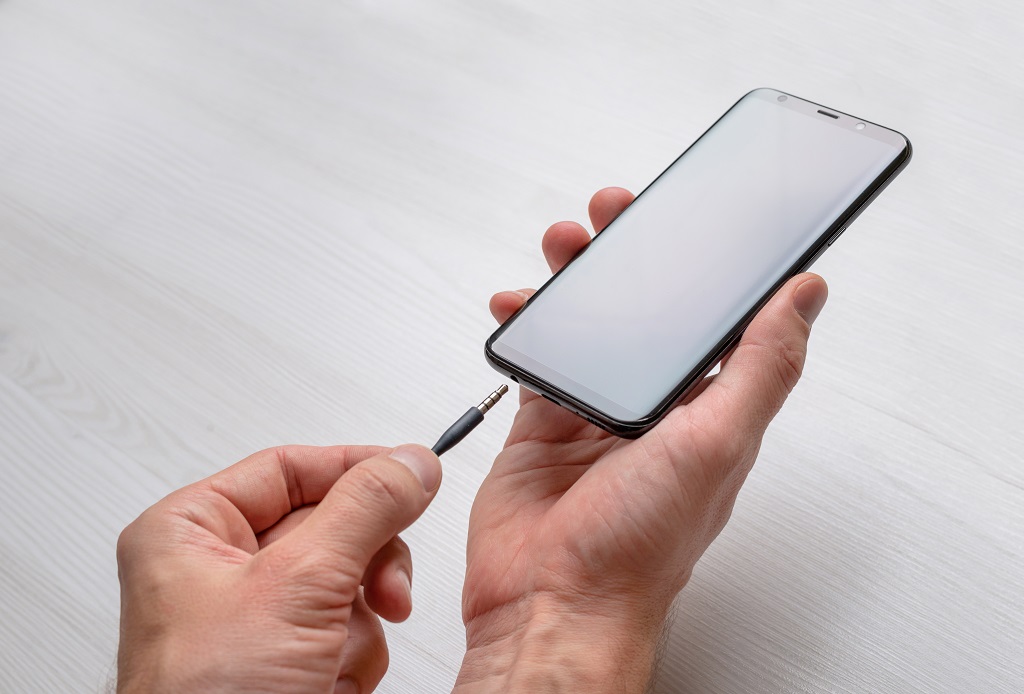
In order to know if your headset has a microphone or not, there is an easy trick.
You want to look at the audio plug (also called an audio jack).
To deliver sound across the cable, an audio jack needs three pins.
One transmits audio for the right speaker, one for the left, and the third is a ground.
With this setup, you have stereo sound with your headphones.
If the headset has a microphone, it needs an extra pin to transmit sound from the microphone to the device.
So, how do you tell?
Each pin requires the jack to have a segment on the metal part of the plug.
In other words, you will see rings or stripes on the audio jack.
If there are two stripes (which create three segments), there is no microphone.
If you see three rings, then there is a microphone.
It’s that easy.
Of course, this only works if the headphones use an audio jack.
If they connect via Bluetooth or other wireless means, you won’t be able to tell if they have a microphone at a glance.
The same goes for headphones that connect via USB-C, lightning or any other cable that isn’t an audio jack.
For any of these circumstances, there is no single catch-all check.
Your best bet is to look up your device with the manufacturer to see if it supports a microphone or not.
If there is no microphone, using the onboard phone mic is very easy.
When you plug in the headset, the phone will auto-detect your device and configure itself.
It will recognize that there is no microphone, and it will default to using the built-in mic for the phone.
You don’t have to do anything special for this to happen.
What if Your Headphones Have a Microphone? (4 Ways)

Lots of headsets have microphones.
If for any reason, you want to use the phone microphone instead, your best bet is to turn off the mic on the headset.
Once it is off, the phone will again default to using its own microphone.
The trick is that there is not a single way to disable headset microphones.
It mostly depends on how the microphone connects.
Even then, you will inevitably find some exceptions to the general rules.
Despite that, we’ll cover the common way to disable a microphone on the most-used headset connections.
#1 Using USB-C Headphones

Let’s start with USB-C.
This connection is well on its way to being the most common connection for any peripheral phone device.
Modern phones have been using USB-C as the standard for charging and connecting devices for a few years now.
It’s not quite a universal standard, as some manufacturers make models that don’t use it, but it’s taking over the smartphone world.
This is because USB-C is fast for connecting data and charging, and you can make any device imaginable connect over USB-C.
Its universality makes it desirable for almost every application.
That includes headphones.
A lot of headphones connect directly via USB-C.
Alternatively, you can get an adapter that connects a traditional phone jack to the USB-C port on a phone.
If you’re using the adapter, you don’t need this section.
Skip down to where it discusses audio jacks.
If you’re not using an adapter, you can usually turn off the microphone. This is not done with a switch or external control on the headset.
Instead, these types of headsets usually come with proprietary software controllers.
In other words, you can download an app from whoever made your headphones.
That app will allow you to turn off the microphone (as well as control the headphones in a ton of other ways).
Once you do this in the software, you can use the phone’s microphone instead.
#2 Using Bluetooth Headsets

While USB-C is one of the most common connection types across devices, Bluetooth is the leading way to link headphones to a smartphone.
Bluetooth has been around for more than a decade.
It’s popular because it works easily, has a universal protocol that any device can use, and barely consumes any power.
These features are why Bluetooth took over when it comes to wireless headphones.
It’s easy to sync the headphones to the phone.
The headphones last way longer than if they were connected via another wireless method.
Bluetooth pairing also lasts through power cycles.
So, once you connect your phone and your headphones, you don’t have to repeat the process. It’s all very convenient.
Among that convenience is software control of the headset.
Like USB-C, Bluetooth headphones can be controlled via your phone.
You can check the synchronization settings on the phone.
Depending on the design of the headset, you might be able to turn off the microphone there (for iPhones, you can turn off microphones in the Bluetooth settings).
If you can’t, you can use the same method as USB-C.
Download the app created by the manufacturer and use it to turn off the microphone.
#3 Using a Lightning Connection

Lightning was kind of like a precursor to USB-C.
They actually hit the market very close to the same time, but lightning is a proprietary connection owned by Apple.
It is comparable to USB-C in terms of performance and universality, but you will only see it on iPhones.
If you have an iPhone, then you can connect headphones via lighting.
Some headphones can do this directly; others require an adapter.
Just like we mentioned above, if you’re using an audio jack and an adapter, skip to the next section.
To turn off the microphone, you want to use the control center.
There, you can see every device connected to your iPhone, regardless of how it is connected.
Look for your headphones.
Tap on them, and you will see a few options.
One of them should allow you to disable the microphone.
If that setting isn’t available, you can still look for an app on the App Store that the headphones’ manufacturer developed.
Once it is installed, you can use it to control the headphones.
#4 Using an Audio Jack
Audio jack connections are going to play a bit differently from everything above.
This is because audio jacks use analog signals, meaning that they work on a different mechanism.
It’s why most modern phones need an adapter to connect this way.
Still, it’s possible to disable audio jack headphones at a software level.
When you go into your connectivity settings on the phone, you should still see your headphones (although the device might be named after the adapter instead).
Via the adapter, the phone is detecting headphones and a microphone, so the controller can still disable the microphone.
If your phone doesn’t have those control settings, there’s another option. You can look for control switches on the headphones themselves.
This is uncommon, but some headphones will have a switch that allows you to turn off the microphone.
If that’s the case for yours, then it’s an easy fix.
If none of that works, then your best bet is to try the next section.
How Can Software Let You Use Your Built-In Phone Mic?

This is the last resort for most people, and it has a reasonable success rate.
You can look for third-party apps that allow you to control your headphones from the phone more precisely.
If you can find the right app, you can digitally disable your microphone (even if it connects through an audio jack), and then using the built-in microphone is a snap.
Go to the store that lets you download apps (Google Play or Apple App Store).
You need to search for an app that includes audio switching.
Usually, the best way to find one is to type “audio switching” in the search bar.
If something looks promising, read the description.
It should allow you to select audio devices connected to the phone.
If it does this, it’s the right kind of app.
Once you install the app and open it, it will give you options to change speaker, headphone, or microphone settings.
Look for an option that lets you either disable or choose the microphone you want.
Using the app, you can toggle this back and forth however you like.
You can now use your built-in microphone as you see fit.
Can You Modify Headphones to Make Them Work?

There’s a last resort beyond third-party apps, but it starts with a disclaimer.
What we are about to go over together is a method to modify your headphones physically.
Doing this will void any warranty that they have.
Additionally, it is easy to damage your headphones by trying this process permanently.
There will be no compensation if that happens.
If you are not familiar with soldering, this is probably not the right option for you.
But, if knowing all of this you still want to proceed, then keep reading.
No matter the type of headphones you use, the microphone cable has to run separately from the headphone cables.
Typically, they are bundled together at some point, but a distinct cable is designed to carry sounds from the microphone to the connected device.
The reason for this distinction is to protect signal integrity and make the system work better.
Otherwise, the headphone and microphone signals could mix together in the wire, and it would be a huge mess.
The point is that this distinct wire gives you an element of physical control over your headphones.
If you can locate the actual sound intake point for the microphone, you’ve found one end of the microphone wire.
In order to access it, you might have to disassemble your headphones.
You can often just strip the wires that lead away from the microphone if you have a wired connection.
Regardless, you want to find the microphone wire that runs away from the sound input towards a junction with the other wires.
Once you find it, you need to isolate it.
This may require you to strip the wire.
When you have an isolated microphone wire, you can simply cut it.
When that wire is severed, the headset will no longer be able to send microphone signals to the phone.
When the phone auto detects your device, it will think that no microphone is attached and proceed accordingly.
There’s an important trick to this process.
When you cut the wire, you need to make sure the two ends cannot incidentally contact each other.
If they do, your microphone connection will come back, and your effort is for naught.
One more note will get you on your way.
If you ever want to reinstate your microphone, simply solder the severed wire back together.