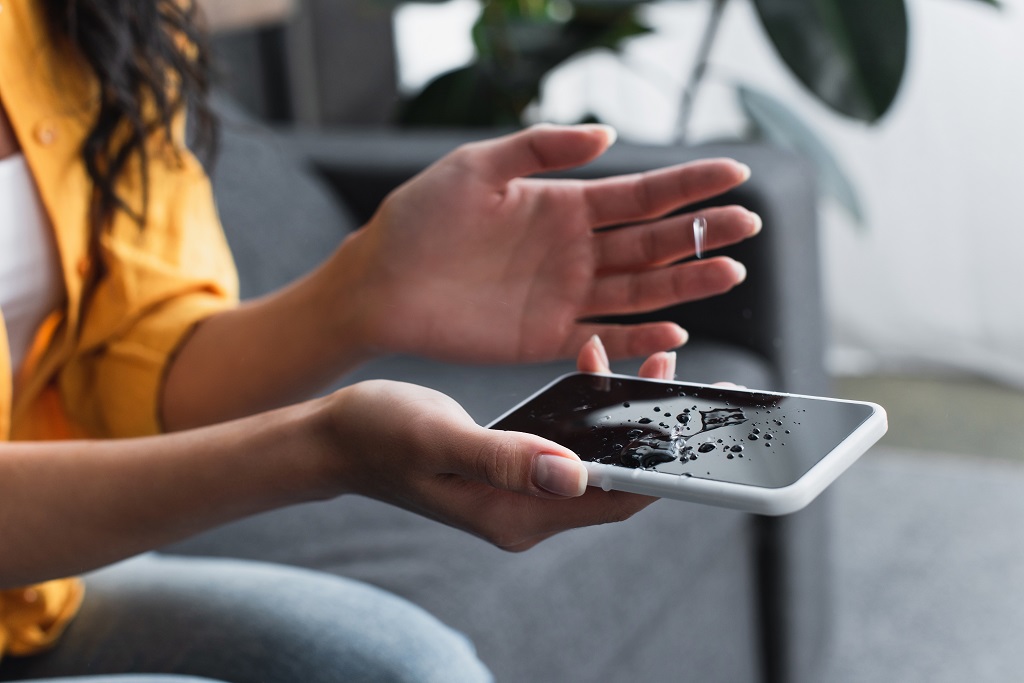
Dealing with a water damaged phone is never a fun experience, especially when it won’t charge. If you’ve found yourself in this frustrating situation, you’re not alone. Many people have encountered a water damage iPhone that won’t charge, leaving them scrambling for a solution.
But before you panic and rush to the nearest repair shop, there are a few things you can try to troubleshoot the issue on your own. In this blog post, we’ll go over some common reasons why a water damaged phone won’t charge and provide tips for getting it dried out if it’s still wet.
So if you’re facing a water damaged phone that won’t charge, keep reading for some helpful advice.
Understanding How Water Damages Your Phone’s Charging Capability
Water damage can have a significant impact on your phone’s charging capability. When water infiltrates your device, it can wreak havoc on its delicate internal components, including the charging port and battery.
The presence of water can cause corrosion and create a barrier between the charging contacts, preventing proper electrical connection. Corrosion, in particular, can eat away at the metal contacts, leading to poor conductivity and hindering the charging process.
Additionally, water can cause short circuits, which can further damage the charging port and other components of your phone. A short circuit occurs when water bridges the gap between two electrical contacts, causing an unexpected flow of electricity. This surge of power can overload the circuits and potentially fry your phone’s internal components.
Fixing water damage requires more than simply letting your phone air dry. It’s crucial to ensure that the water is fully removed from your device to prevent further damage and restore its charging capability. This process typically involves disassembling your phone and using professional drying techniques or specialized tools to extract the water.
Understanding how water damages your phone’s charging capability is vital in determining the next steps you should take to address the issue. In the following sections, we’ll explore various methods for safely drying out your water-damaged phone and discuss when it’s best to seek professional help.
Top Tips for Drying Out Your Water-Damaged Phone Safely
If your water-damaged phone is not charging, it’s important to take immediate action to prevent further damage. Here are some top tips for safely drying out your water-damaged phone:
1. Power off your phone: The first step is to turn off your device to avoid any potential short circuits. If your phone is still on, hold down the power button and select the “Power off” option.
2. Remove any accessories: Take off any cases, covers, or other accessories that may be obstructing the drying process. These can trap moisture and hinder the airflow.
3. Wipe off visible moisture: Use a soft, lint-free cloth to gently wipe away any visible water from the exterior of your phone. Be careful not to push the water further into the device.
4.Stand it up. Try to stand your phone upright to dry overnight. By doing this you are allowing for the liquid to use gravity in its favor and drain out the bottom.
5. Avoid heat sources: While it may be tempting to speed up the drying process with a hairdryer or heater, it’s best to avoid direct heat. Excessive heat can damage the internal components of your phone or in some cases the force of the air can drive the water deeper into the devices components.
6. Give it time: Patience is key when fixing water damage. It may take several days for your phone to fully dry out. Resist the urge to turn it on until you’re certain it’s completely dry.
Remember, these tips can help in minor cases of water damage. If your phone still won’t charge after trying these methods, it may be time to seek professional help.
Taking your water-damaged phone to a repair shop can provide expert assistance in restoring its charging capability. Don’t hesitate to reach out for professional assistance to prevent further damage and get your phone back in working order.
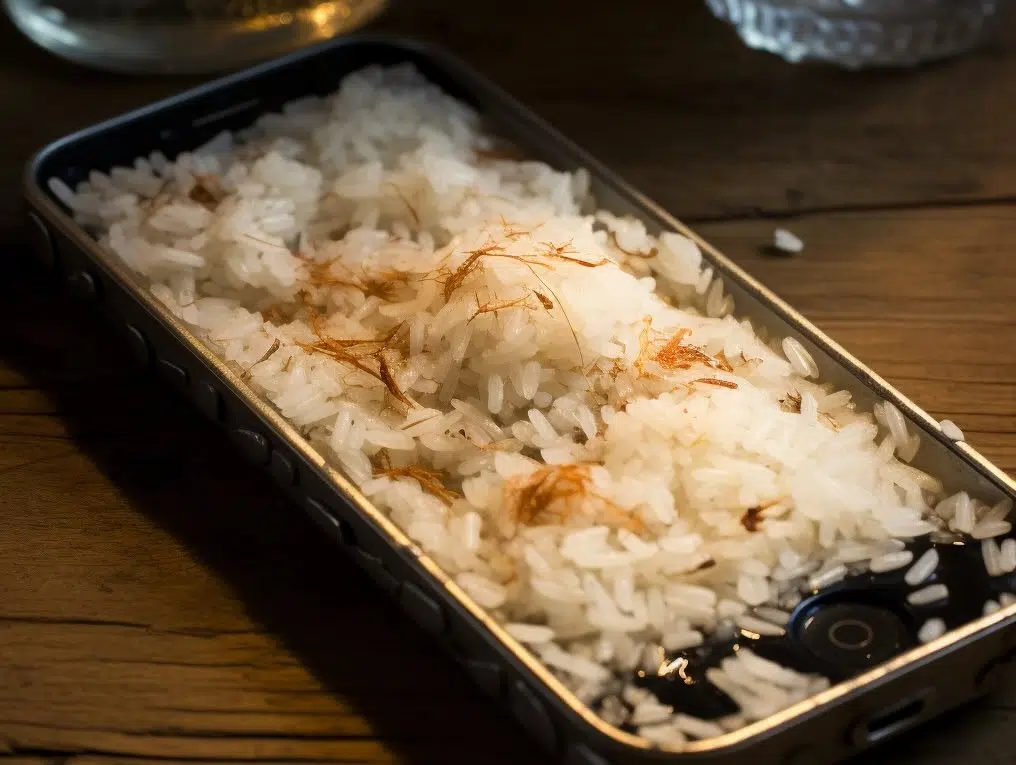
Why the Rice Trick Doesn’t Work – Unraveling the
Myth
Fixing water damage on a phone is a common challenge, and many people have turned to the rice trick in hopes of salvaging their devices. You’ve probably heard it before: when your phone gets wet, just stick it in a bag of rice and let the grains magically absorb all the moisture. Unfortunately, this method is more of a myth than a solution.
The idea behind the rice trick is that rice acts as a desiccant, absorbing moisture from the surrounding environment. However, rice is not the most effective desiccant out there, and it certainly doesn’t have the power to fix water damage on its own.
One of the biggest problems with using rice is that it can leave behind starch and debris that may further damage your phone. When rice absorbs water, it expands and releases starch particles, which can easily get lodged in your charging port or other sensitive areas of your device.
This can lead to even more problems down the line. I have seen so many customers have residual problems from putting their phone into rice. I’ve seen rice get stuck in the charging ports and pectin all inside their device, you name it I’ve seen it.
Additionally, rice is not capable of reaching all the nooks and crannies of your phone where water may be hiding. It may absorb some of the surface moisture, but it won’t be able to thoroughly dry out the internal components that have been affected by water damage.
Instead of relying on the rice trick, it’s important to take more effective steps to fix water damage on your phone. This includes properly drying out your device using techniques like air drying, using desiccants like silica gel packets, or seeking professional assistance. Remember, it’s always best to consult experts who have the necessary tools and expertise to safely restore your water-damaged phone.
So the next time your phone takes an unexpected dive into water, skip the rice and opt for more reliable methods to address the issue. Don’t fall for the myth – it’s time to unravel the rice trick and find better ways to fix water damage on your phone.

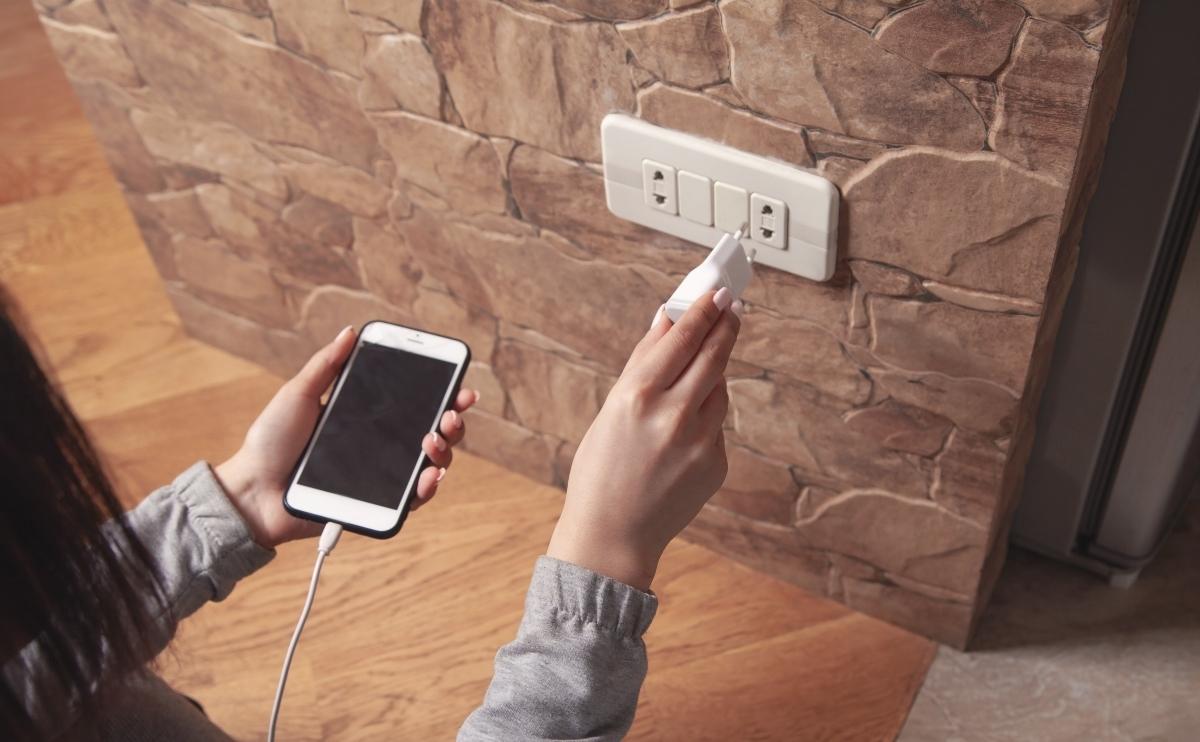
Troubleshooting the problem, trying a wireless
charger.
If your water-damaged iPhone won’t charge, there are a few troubleshooting steps you can take before rushing to a repair shop. One option you can try is using a wireless charger.
Wireless charging technology has become increasingly popular and can be a convenient solution for a phone that won’t charge via a traditional charging cable. Of course this is only an option for iPhone 8 and newer.
To use a wireless charger, simply place your water-damaged iPhone on the charging pad or dock. Make sure the charger is plugged into a power source. If your phone is compatible with wireless charging, it should begin charging automatically.
Using a wireless charger can help determine if the issue lies with the charging port or possibly something more like a battery.. If your phone charges wirelessly but not with a cable, it suggests that the charging port may be damaged or corroded due to water damage.
However, if your iPhone still doesn’t charge with a wireless charger, it’s possible that the battery or other internal components have been affected by water damage. In this case, it’s best to seek professional help to assess and repair the damage.
Remember, troubleshooting methods can vary depending on the specific model of your iPhone and the extent of the water damage. If you’re unsure about how to proceed or if your phone is still under warranty, it’s always advisable to consult with an expert before attempting any repairs yourself.

Taking Your Water-Damaged Phone to a Professional: The Benefits
When it comes to a water-damaged iPhone that won’t charge, sometimes the best solution is to take it to a professional repair shop. While there are steps you can take to dry out your phone and troubleshoot the issue on your own, seeking expert assistance can provide several benefits.
Firstly, professionals have the necessary tools and expertise to properly diagnose the extent of the water damage and its impact on your phone’s charging capability.
They can assess the internal components, including the charging port and battery, to determine if any repairs or replacements are needed. This ensures that the issue is addressed effectively, saving you time and frustration.
Additionally, professionals can safely disassemble your phone to extract any remaining moisture and prevent further damage.
They have access to specialized drying techniques and equipment that may not be available to you at home. By entrusting your water-damaged phone to experts, you can have peace of mind knowing that the proper steps are being taken to restore its charging capability.
Another benefit of seeking professional help is that they often offer warranties on their repairs. This means that if the problem persists or if new issues arise after the repair, you can bring your phone back for further assistance without additional cost. This warranty provides an extra layer of protection and ensures that you receive the best possible service.
So, if your water-damaged iPhone won’t charge and you’ve exhausted all troubleshooting methods, don’t hesitate to take it to a professional repair shop. They can provide expert assistance, prevent further damage, and help restore your phone to its fully functional state. Remember, sometimes it’s best to leave it to the experts and avoid any potential DIY mishaps.
Preventive Measures to Avoid Future Water Damage
Now that you’ve dealt with the frustrating experience of a water-damaged phone that won’t charge, it’s essential to take preventive measures to avoid encountering the same issue in the future. Here are some tips to help you protect your phone from water damage:
1. Invest in a waterproof case: One of the easiest ways to safeguard your phone from water damage is to use a waterproof case. These cases create a barrier that prevents water from seeping into your device. With a waterproof case, you can confidently use your phone near water without worrying about accidental spills or drops.
2. Be mindful of water exposure: It’s important to be cautious when using your phone in or around water. Avoid taking your phone into the bathroom while showering, and be extra careful when using it near swimming pools, beaches, or any other water sources. Remember, prevention is always better than dealing with the aftermath of water damage.
3. Use waterproof accessories: Consider using waterproof accessories, such as charging cables and headphones. These accessories are designed to withstand exposure to water and can provide an extra layer of protection for your phone’s delicate components.
4. Keep your phone away from liquids: It may seem obvious, but it’s worth mentioning – keep your phone away from liquids. Whether it’s a glass of water, a cup of coffee, or a rainy day, try to minimize your phone’s exposure to liquids as much as possible. Accidents happen, but being mindful can help reduce the risk of water damage.
5. Regularly check your phone for signs of damage: Keep an eye out for any signs of damage to your phone, such as cracks in the screen, loose charging ports, or malfunctioning buttons. Addressing these issues promptly can prevent water from entering your device through these vulnerable areas.
By following these preventive measures, you can significantly reduce the chances of encountering water damage and the subsequent frustration of a phone that won’t charge. Remember, prevention is key when it comes to protecting your valuable device.
Final Thoughts
When faced with a water damaged iPhone that won’t charge, it can be a frustrating and stressful situation. However, there are steps you can take to troubleshoot the issue and potentially restore your phone’s charging capability.
From understanding how water damages your phone’s internal components to safely drying out your device, we’ve covered various methods and tips in this blog post.
It’s important to remember that fixing water damage requires more than just letting your phone air dry. The presence of water can lead to corrosion, poor conductivity, and short circuits, all of which can hinder the charging process. That’s why it’s crucial to ensure that the water is fully removed from your device to prevent further damage.
While there are methods you can try at home, such as wiping off visible moisture and using desiccants, sometimes it’s best to seek professional help. Professionals have the necessary tools, expertise, and drying techniques to safely restore your water-damaged phone. They can also diagnose the extent of the water damage and provide warranties on their repairs.
To prevent future water damage, consider investing in a waterproof case, being mindful of water exposure, and using waterproof accessories. Regularly checking your phone for signs of damage can also help prevent water from entering your device.
In conclusion, dealing with a water damaged phone that won’t charge is a common problem, but there are steps you can take to address it. By understanding how water damages your phone’s charging capability, safely drying out your device, and taking preventive measures, you can protect your valuable device and avoid the frustration of a phone that won’t charge. If all else fails, don’t hesitate to seek professional help for expert assistance in restoring your water-damaged phone.