
Here’s how to tell if your laptop’s power port is the problem or your laptop charger:
The easiest thing you can do is test the laptop with a known-good, compatible charger.
If you don’t have such a charger, you can look over the devices for obvious signs of damage or use a multimeter to test each component.
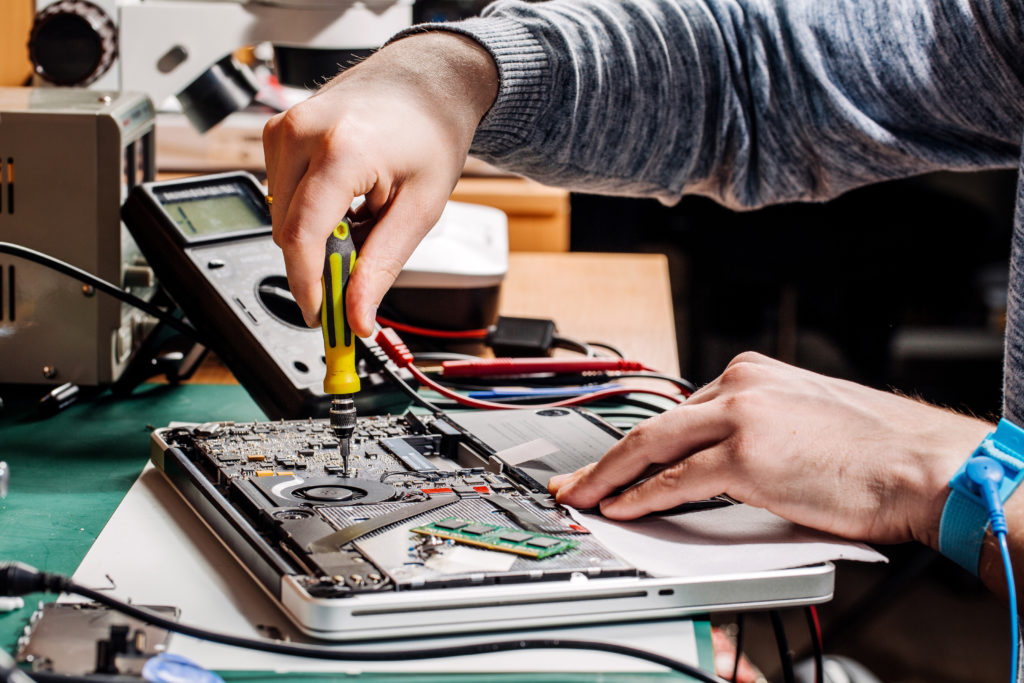
You can also take the laptop to a repair specialist who will perform specific tests to isolate the problem.
If you want to learn all about whether it’s your laptop power port or laptop charger causing the trouble, then you’ve come to the right place.
Let’s get started!
What Are the Best Ways to Determine Whether It’s Your Laptop Power Port or Laptop Charger? (4 Steps)
If you want to be sure of where the problem is located, you need to perform tests.
Tests can range from eyeballing the power cord to using a multimeter or advanced diagnostic tools.
We’ll go over the most accessible test together so you can truly isolate the problem and inform your repair options.
#1 Eyeball the Problems

There are formal tests you can do with multimeters and other devices.
Before going that route, you can take a look at the devices and see if there are overt signs of damage.
If the power cable is obviously worn or exposed, it’s a likely culprit of your issues.
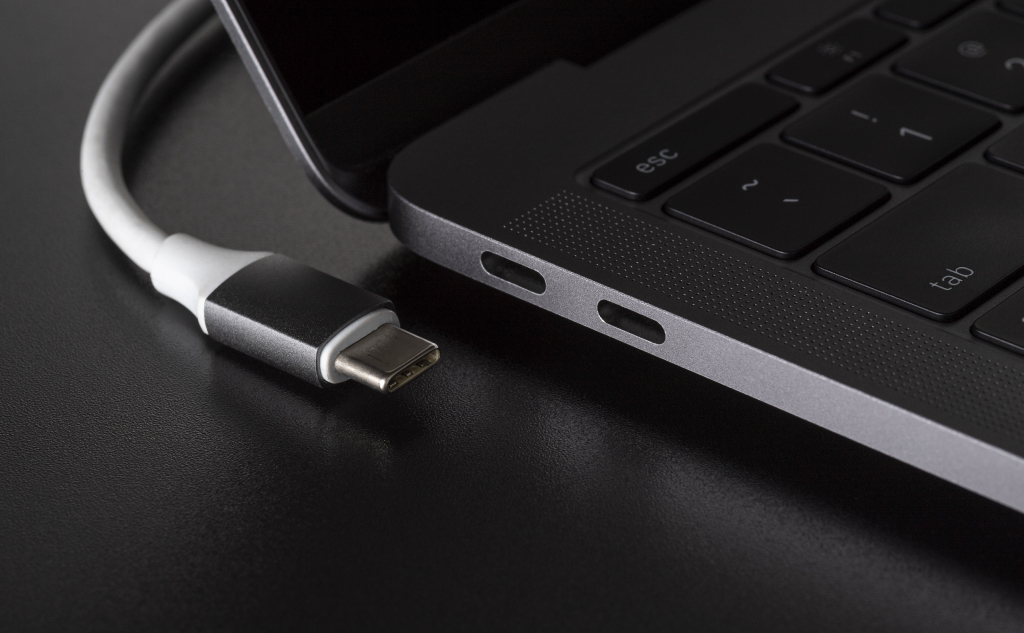
You can look closely at the connectors.
They often get bent, and a bent connector pin can prevent the charger from working.
You might also see signs of scorching on any of the metal components.
That demonstrates a serious problem, and you should stop using the charger and power port right away.
If you see scorching, get the laptop professionally repaired or replace it.
Eyeballing is a good place to start, but not all problems will be clearly visible.
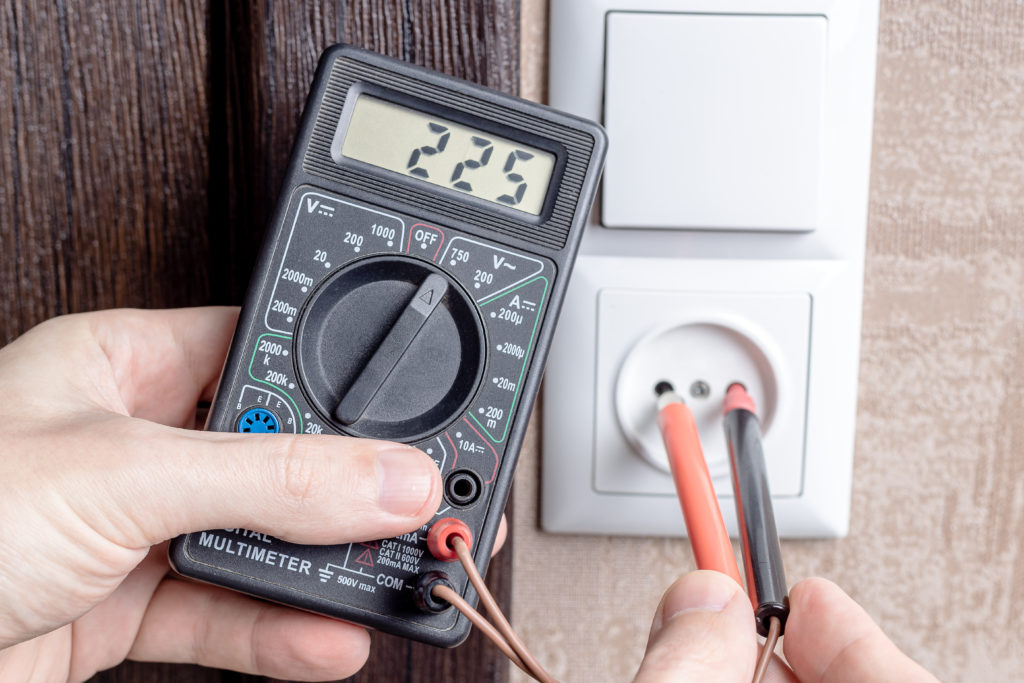
#2 Use a Multimeter
If you want a certain answer, you can use a device to test the flow of current through the laptop and/or its charger.
The best device for this is a multimeter, and you can get one at most hardware stores for an affordable price.
Anyone unfamiliar with multimeters will need to learn how to use one.
Typically, they are battery-operated.
The multimeter will have two leads that plug into the handheld device, and these leads are used to probe circuits.
Here’s the gist of how it works.
You can turn a dial (or use a menu screen) to select what aspect of a circuit you want to test.
You can test a circuit under load, you can test the voltage across the circuit, or you can perform a simple continuity test.
Advanced multimeters may offer additional functions.
When it comes to testing the power port and power charger for a laptop, you will want to perform a voltage test and possibly a current test.
The steps for each are covered in their own sections.
Before that, you need to know a few things about the multimeter.
With most devices, you can plug the leads in as you see fit. The black lead is intended to be the negative lead, and the red is positive.
You need to plug them into the corresponding spots on the multimeter.
Typically, they are color-coordinated. If not, there should be a manual that comes with the device to tell you exactly how to plug the leads in.
Also, many leads have plastic covers to prevent corrosion. You need to remove these covers before you can perform a test.
#3 Test the Laptop Charger

Before you test the laptop charger, understand that you are going to be attaching conducting materials to it while it is plugged into the wall.
If you don’t know basic electrical safety, leave this to someone else.
While there are ways to do this safely, it is possible to shock yourself or create a hazardous situation if you don’t know what you’re doing.
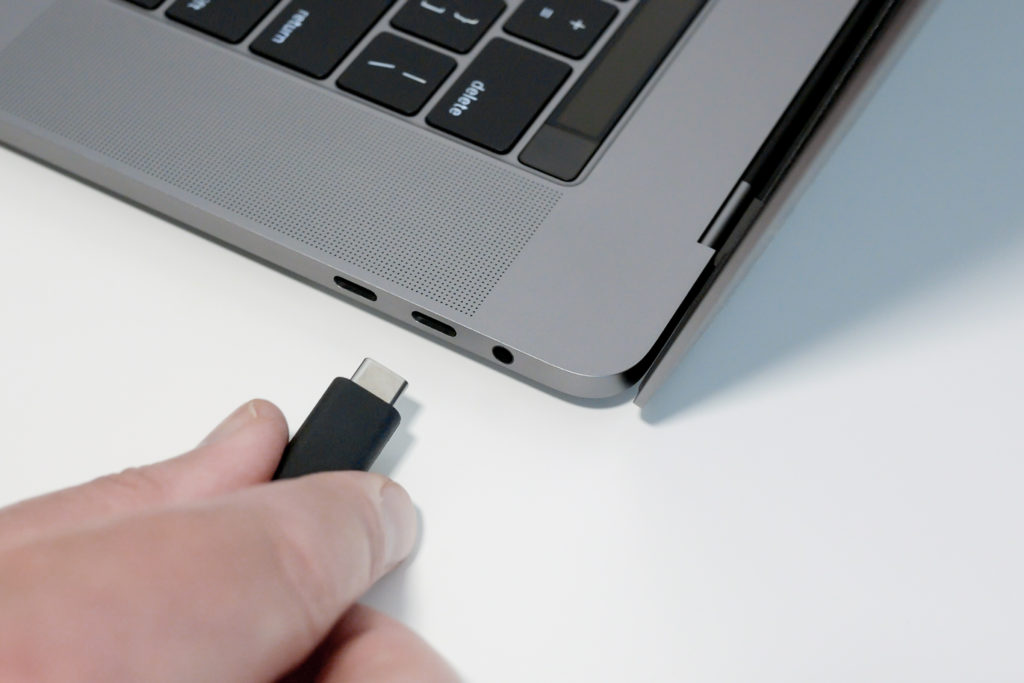
With that disclaimer covered, start by plugging the laptop charger into the wall, but do not plug it into the laptop.
You are going to set your multimeter to record the voltage on the DC setting.
The red lead should touch the metal pin inside of the laptop charger’s plug.
Touch the black lead to the metal part that surrounds the pin.
When you do this, you should get a voltage reading. Record it. Unplug the laptop charger.
If you look at the black boxy part of the charger (this is an inverter), it usually lists the voltage expectations for the device.
The reading from your multimeter should be within one Volt of the recommended voltage on that device.
If there isn’t a label on the charger itself, you can look up the voltage requirements for your laptop.
Again, your reading should be within one Volt of that number.
#4 Test the Power Port
Testing the laptop power port requires a little more setup.
If the charger tested well and is working, then things are a little easier.
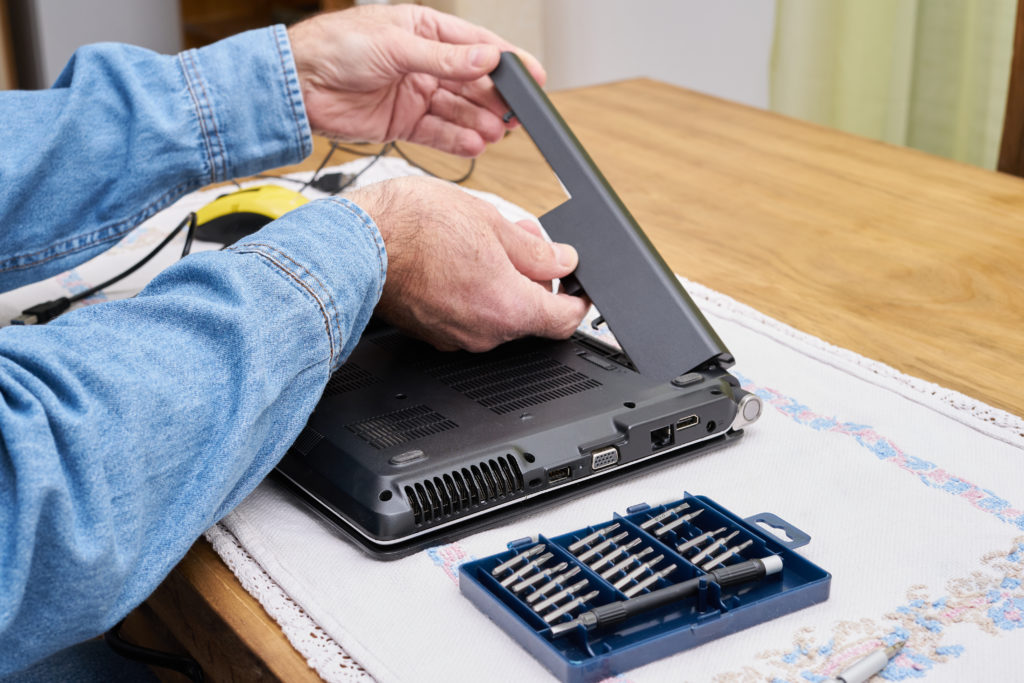
Remove the battery from the laptop, and leave the computer facing so that you can access the leads that typically connect the battery.
Plug in the laptop.
Using the leads on the multimeter, test the voltage across the laptop.
To do that, the negative probe should touch one of the plugs on the side of the laptop, such as a video port.
Test the red probe across each of the battery leads in succession.
At least two of them will not have any voltage, and that is ok.
Beyond that, you want to see that the rest of the leads are providing some amount of voltage.
The numbers will not match the charger.
Instead, you can look up the expectations for your specific laptop to ensure it is working correctly.
In most cases, if the port has a problem, you will not see a voltage across the battery connector.
If you can’t confirm that the laptop charger is functioning, this test is a little different.
The same problem arises if you can’t remove the battery.
In either case, you need to do a resistance test on the laptop’s power port.
Make sure the laptop is completely off and has no power.
You’re going to use the ohmmeter for this test.
You will need to look up the expected resistance of the power port for your laptop.
It might take some digging to find that information.
When you do know the expectation, it will help you set the right ohm measurement on your multimeter.
Make sure the maximum resistance setting is high enough for the power port.
Connect the black lead to the metal surrounding the port and the red lead to the connector inside the port.
The resistance should read according to the specifications you looked up.
If the port cannot conduct, you will get no resistance reading at all.
Conversely, if the resistance is much higher than expected, it demonstrates a problem that could prevent the laptop from charging.
Your other option is to test the laptop with a known-good charger.
This requires access to such a charger, but if you have one, it makes things easy.
If your laptop works fine with one charger and not the other, the other charger is the problem.
If your laptop doesn’t work with a known-good charger, then you know that the computer is the source of the issue.
Keep in mind that the known-good charger has to be compatible with the laptop you are testing.
Plugs are often proprietary, and not all laptops have the same current needs.
This is why such a test is not always accessible.
What If Neither the Laptop Power Port Nor Laptop Charger Is the Problem? (4 Issues)

Sometimes, your charger and power port will both be fine. Despite that, you still can’t turn on your computer.
If that happens, there are several other possible issues, and each can be tested and addressed individually.
#1 Outlets
It’s possible that your outlet isn’t supplying power.
You can test an outlet with the current testing setting on your multimeter.
You can use any type of continuity tester for this function.
Or, you can plug in a device that you know works.
See if it draws power.
If not, the outlet is the issue.
Of course, there are several reasons why an outlet might not work.
It could be the outlet itself.
This would be apparent if other outlets in the same room are working.
It could be a GFCI switch.
These are safety switches that cut power to an outlet (or group of outlets) when something goes wrong.
GFCI switches are located right on the outlet, and you can toggle them when they are tripped.
They’re a lot like circuit breakers, but they manage a smaller portion of outlets in a home.
If the GFCI switch isn’t the issue, you can check the circuit breaker.
Make sure all breaker switches are in the “on” position.
If that still doesn’t work, you probably have an electrical outage, in which case you need to contact the electric company.
You may also need electrician repairs in the house.
Either way, it’s time for professional help.
#2 Batteries
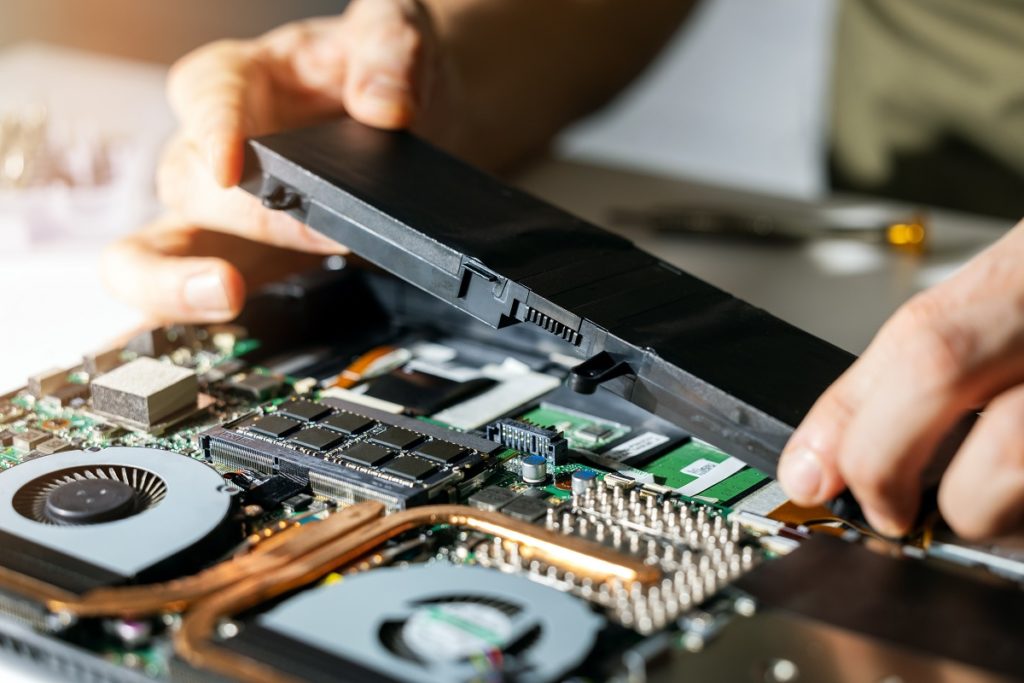
A dead battery won’t charge, but you should still be able to use the laptop with the power adapter plugged in.
If that doesn’t work but the adapter and power port both seem fine, there could be a circuit problem where the battery connects.
You can test that circuit using the steps mentioned in the previous section.
A damaged battery connection can prevent current from flowing properly and render the laptop unusable.
Professional repairs can remedy the situation.
#3 Power Buttons

Another common source of the issue is the power button or switch.
This switch is what allows electricity to flow through the laptop.
If the power switch is broken, your laptop will pass circuit tests, but you’ll never be able to turn it on.
In such a case, most repair professionals can replace a laptop’s power switch.
#4 Motherboards

Motherboard issues can be more complicated.
This is the main circuit board for the entire computer, and current has to flow across the motherboard to every major component.
If the other parts of the computer pass tests and are working, the motherboard could still prevent the laptop from powering on.
In this case, a motherboard replacement is usually the best way forward.
How do you diagnose motherboard problems?
It usually involves specific testing that is often handled by computer technicians.
Simple multimeter tests won’t always cut it. Even if you want to perform multimeter tests, you would need to remove the motherboard from the laptop first.
It’s not a recommended action for the untrained.