
Here’s how to set up your all-in-one computer as an extra monitor: If your all-in-one has a display-in port, all you need to do is plug a display cable into the in port on the all-in-one and an out port on the main computer that you want to use. This will help achieve high-quality image reproduction.
If your all-in-one doesn’t have a display-in port, you can use a display port converter or remote desktop software as a workaround.
If you want to learn all about how to set up your all-in-one computer as an extra monitor, then this article is for you.
Let’s get started!
First, we’re going to cover the easy ways to go about this. Not every all-in-one can do this, so it’s only the starting point.
If your all-in-one has a display in port, then this is going to be simple. All you need to do is plug a display cable into the in port on the all-in-one and an out port on the main computer that you want to use.
There are four different types of display ports, so you’ll need to make sure they match on both computers.
HDMI is still the most common plug type.
DisplayPort is the second most common and newest.
The two older types are DVI and VGA.
Typically speaking, both ports have to be the same, or else you will need adapters and/or converters, which will be covered in a later section.
There’s another important note here. Not all display ports on a computer are display-in ports.
In fact, it’s very uncommon for a display to work as input and output. You will need to find display input ports on the all-in-one, and not all of them have any.
To identify an “in” port, simply look for a label on the port.
Input ports are almost always labeled as “in.” Output ports usually are not labeled, so if it doesn’t say in or out, you can assume it is an output port.
If you really can’t tell, you can look up your all-in-one computer with the manufacturer to see which, if any, ports are for input.
Assuming you do have input ports, the following directions show you how to use each type of connection.
What is an All-in-One Computer?
An all-in-one computer is a type of desktop computer that integrates the monitor and central processing unit (CPU) into a single device. This design eliminates the need for a separate tower or CPU unit, making it a space-saving and sleek option for users. All-in-one computers often feature a large display, ranging from 21.5 to 27 inches, and are equipped with a variety of input options, including USB ports, HDMI ports, and wireless connectivity. This compact design not only saves space but also reduces cable clutter, providing a cleaner and more organized workspace.
Choosing the Right All-in-One Computer
When selecting an all-in-one computer, consider the following factors to ensure you find the right one for your needs:
Display size and resolution: Look for a Full HD display with a high pixel density for crisp and clear images. A larger screen size can enhance your viewing experience, especially for tasks like video editing or gaming.
Processor and RAM: Choose a computer with a recent-generation processor and sufficient RAM to handle your workload. For instance, an Intel Core i5 or i7 processor paired with at least 8GB of RAM can provide smooth performance for most applications.
Storage: Consider a computer with a solid-state drive (SSD) for faster loading times and responsiveness. SSDs are significantly quicker than traditional hard drives, which can improve your overall computing experience.
Connectivity: Ensure the computer has the right ports and wireless connectivity options to connect your peripherals and devices. Look for multiple USB ports, HDMI, and possibly even USB-C for versatile connectivity.
Operating System: Decide between Windows 10 or another operating system that suits your needs. Windows 10 is widely used and supports a vast range of software and applications, making it a versatile choice for most users.
#1 All-In-One’s HDMI
HDMI was the most popular display connection for a long time.
If you have ever used a DVD or Blu-ray player, it probably connected via HDMI.
If you’re not sure what HDMI looks like, here’s a picture:
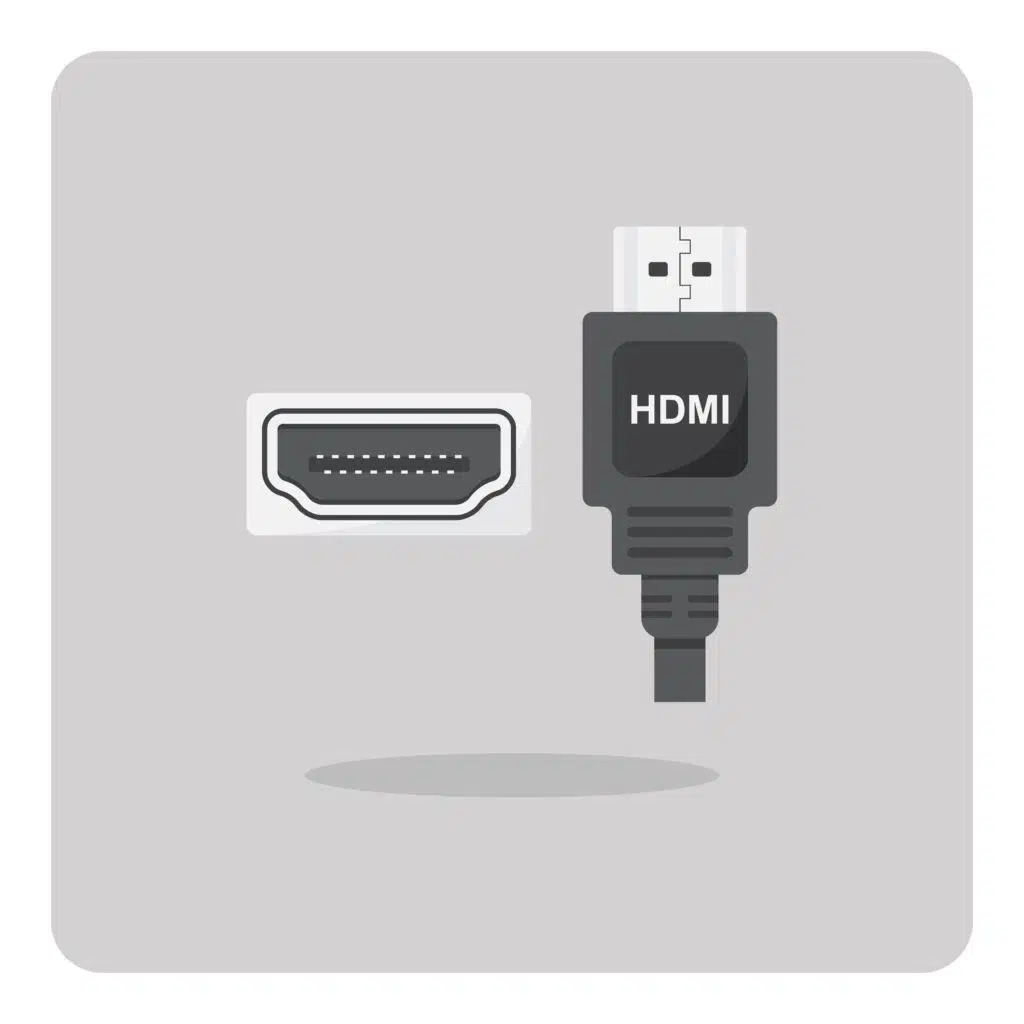
To use the HDMI-in port with your all-in-one, simply plug an HDMI cable into that port.
The other end of the cable goes into an HDMI-out port on the main computer.
Once plugged in (and assuming both computers are on and running), the main computer will automatically send video to the all-in-one device.
After they are connected, you may need to change your display settings on the main computer to get things the way you like.
On Windows, you can type “display” into the search bar to pull up the settings. This allows you to pick text sizes and other features. If the display settings are not working as expected, try a lower resolution or page number.
You can click on “additional display settings” in the top right of the window to access more controls.
This is where you can arrange your multiple displays, pick their screen resolutions and play with additional options.
The important note here is that you control the display for the all-in-one from the settings on the main computer once the connection is up and running.
On a Mac, you can go to System Preferences and click Displays or type “display” into the search feature (known as Spotlight).
From here, you can pick the resolution, screen arrangement, brightness, and anything else you might need.
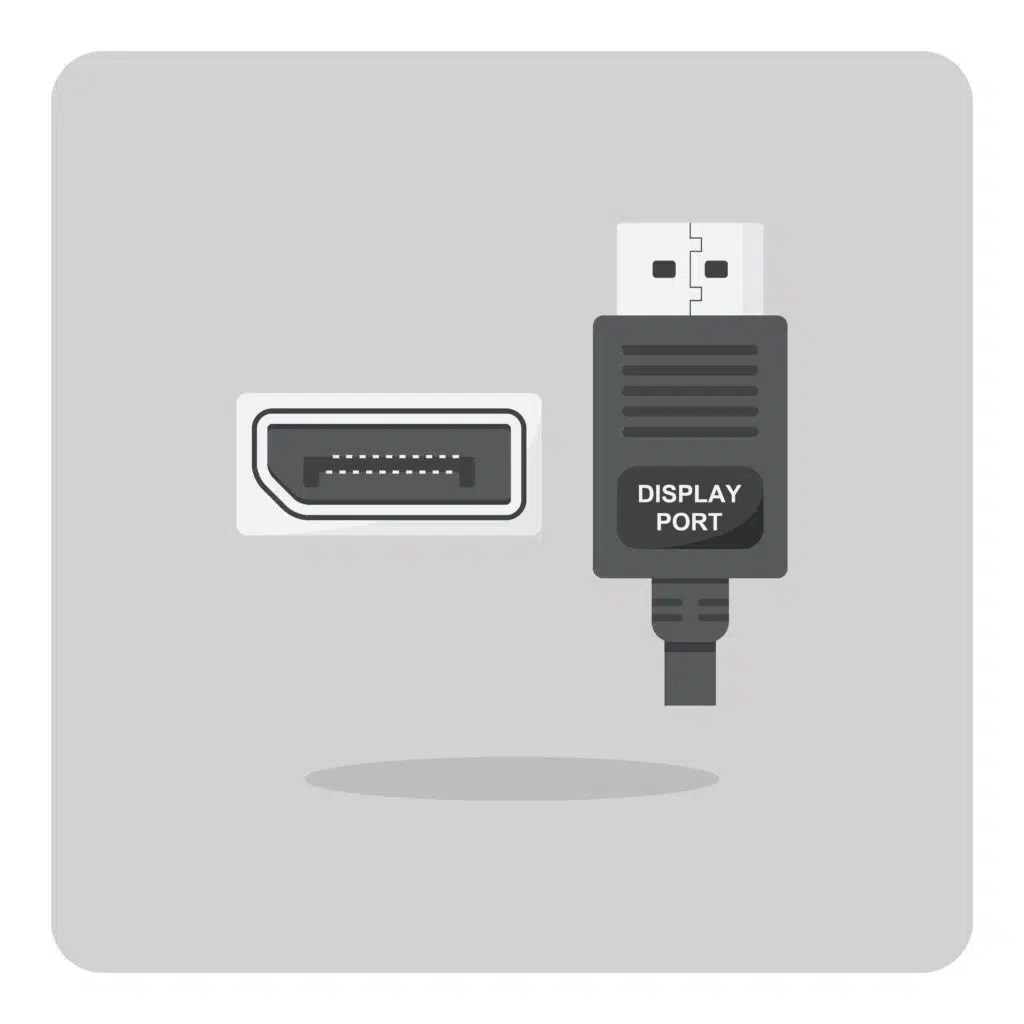
#2 All-In-One’s DisplayPort
DisplayPort is the newer way to connect video, and it is slowly replacing HDMI altogether.
Once you find the appropriate DisplayPort connection points, simply plug the cable into each port.
If you’re not sure what DisplayPort looks like, here’s a picture:
When they are connected, they will behave the same as the setup above.
You can control all video settings from the main computer.
If you have never used DisplayPort, these images will give you an idea of what to look for:
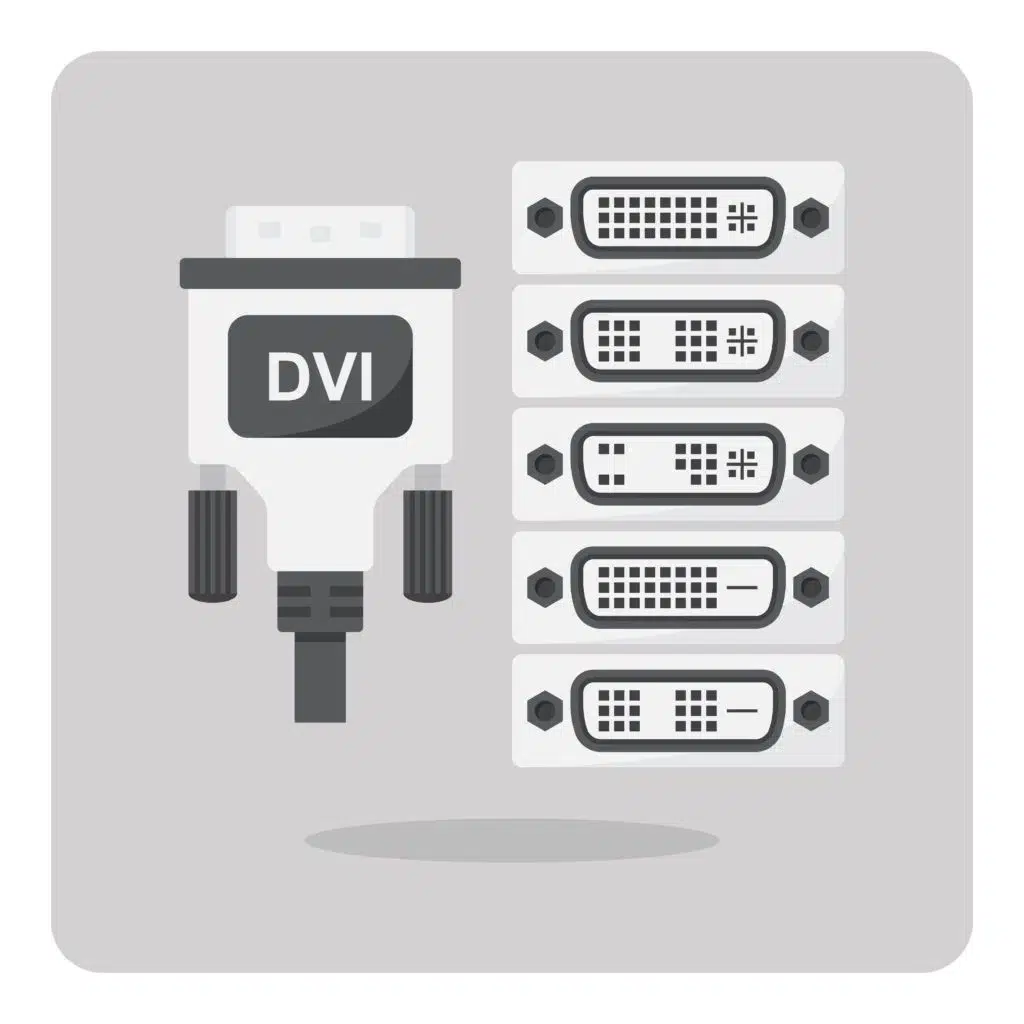
#3 All-In-One’s DVI
DVI is an older connection type, and you might find it more annoying than the others.
That’s because DVI comes in different formats that do not work with each other.
Basically, you need to look at the plug pattern to determine which cable is correct.
Here’s the trick.
Every DVI cable (or port) has a horizontal line connection on one side.
For some DVI types, the horizontal line has dot connectors above and below it.
For other DVI types, there are no additional dot connections.
This part has to match on the cable, and the connecting port or the video feed will not work.
For reference, the DVI connections with the extra dots are known as DVI-I (which is important if you need to order a cable).
The ones without the dots are DVI-D.
If you’re not sure what DVI looks like, here’s a picture:
Once the correct DVI cable is connecting your two computers, the rest of the process is the same as the methods above.
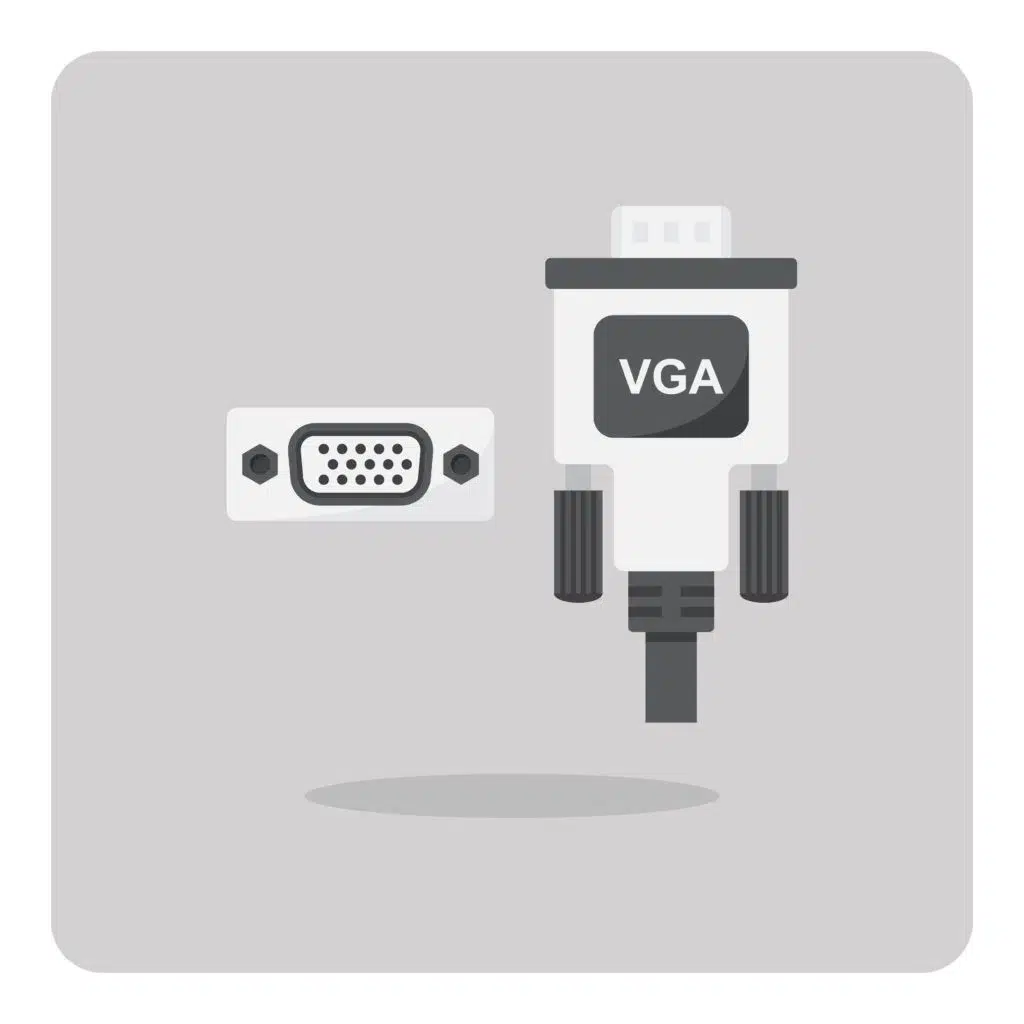
#4 All-In-One’s VGA
VGA is an antiquated connection type, but you’ll still find it on some computers. It’s typically blue.
Unlike DVI, all VGA connectors work together universally.
The downside to VGA is that it doesn’t support high-definition connections. But, it can still work if your all-in-one has a VGA-in port.
When using a VGA connection, plug in the cable to both machines, and everything else remains the same as the methods above.
If you’re not sure what VGA looks like, here’s a picture:
There is another trick to know about VGA and DVI.
You can get adapters that allow you to bridge a connection between a VGA port on one computer and a DVI port on the other.
You need to be sure you get the right adapter for the specific DVI type in question, but if you do, you can mix and match these connection types for a pretty low additional cost.
This same trick doesn’t really work for any other pairings of connection types.
Display and HDMI are so fundamentally different from all other connection types that they require specialized converters to mix and match them.
The converters can work, but they are considerably more expensive than the VGA-DVI adapters.
We’ll talk more about converters later on.
What Is the Easiest Color on the Eye on a Monitor?
Ever wondered what’s the easiest color on the eye on a computer screen?
Then you’re in the right place.
Colors in the middle of the visible spectrum are easy on the eyes.
Examples are red, orange, and yellow.
Blue is the most difficult color to look at.
Blue light is a primary color that tends to flicker more frequently than other primary colors such as oranges or reds, and its wavelengths reach farther into the eye.
Learn all about the easiest color on your eyes on a monitor here.
Can iMacs Be Used as a Monitor?
This depends on the iMac.
For a long time, iMacs were designed to work specifically as an additional monitor.
This practice started to phase out in 2014 and was completely removed after 2019, so you’ll need to check the model of the iMac and see if it supports Target Display Mode.
All of the iMacs that have this feature will use either Thunderbolt or Mini Display connections.
If you meet the requirements, connect the iMac to the other computer via the designated display-in port.
Then, on the iMac that will become a display, press Command-F2 on its keyboard. This will toggle it into display mode.
If you want to toggle out of display mode, hit Command-F2 again.
If your iMac does not support this display feature, it’s still possible to set it up, but you will need to run Windows on the Mac.
You can find instructions for that here. If you want to pursue this option, skip down to the section covering “Windows PC Projection.”
What Adapters Can I Use to Use an All-In-One Computer as a Monitor?
If you want to use an all-in-one computer as a monitor, you’ll need to connect it to a separate device, such as a gaming console or another computer. Here are some adapters you can use:
HDMI adapter: Connect your device to the all-in-one computer’s HDMI port to display content on the monitor. This is a common and straightforward method, especially for high-definition video and audio.
DisplayPort adapter: Use a DisplayPort adapter to connect your device to the all-in-one computer’s DisplayPort port. DisplayPort is known for its high performance and is often used in gaming and professional setups.
USB-C adapter: If your device has a USB-C port, you can use a USB-C adapter to connect it to the all-in-one computer’s USB-C port. USB-C is versatile and supports high-speed data transfer and video output, making it a convenient option for modern devices.
What Adapters Can I Use to Connect an All-In-One Computer as a Monitor?
If you don’t have any of the input ports listed in the sections above, you’ll need a display port convertor.
This convertor will have to work through a USB.
Doing that, you can still send a video signal to your all-in-one that will make it work as an extra monitor.
Before we get too deep into this, it’s important to know that USB comes in two basic formats.
The traditional USB (2.0 and 3.0) uses one connection type. The newer USB-C is a different connection type.
Check your all-in-one to see which kind it has. That’s the USB type you will need for your converter.
Now, let’s distinguish between converters and adapters.
Adapters simply change the plug form so that different plug types can work together. This is what the DVI-VGA adapters mentioned above do.
Convertors actually change the signal along the way.
Doing this requires hardware, which is why all convertors will have a boxy portion. That houses the hardware that converts the signal and makes all of this work.
So, if you want to use your all-in-one as a display and it doesn’t have a display input port, you’ll need a converter that matches the display output on the main computer to the USB type for the all-in-one.
It sounds a little complicated, but you just need to specifically get the right converter to plug the main computer into a USB port on the all-in-one.
Once you establish that connection, it will work the same as any of the other methods above.
What Is WiDi, and Can You Use It to Use an All-In-One Computer as a Monitor?
WiDi is an older Intel connection type. It allows displays to connect to devices wirelessly.
If your all in one and other computer both support WiDI, you can use it without having to plug anything in.
This is honestly a long shot, but because some computers do support WiDi, you can look up your model if nothing else is working.
To connect via WiDi, follow these instructions.
What Is Windows PC Projection, and How Can It Help You to Use an All-In-One as a Monitor?
If both of your devices run Windows 10, you can look into PC projection. This is not universal. Not all computers support it.
But if your two devices do support projection, it’s an easy way to set up the all-in-one as an extra monitor. Users have expressed being satisfied with the ease of setting up PC projection when it works.
Type “pc projection” in the search bar on each computer. This will pull up the PC projection settings.
From here, you can see if both devices are able to turn on projection. If so, then you want to project from the main computer to the all-in-one.
The options in the settings window will walk you through the setup for this method.
Can I Use Remote Desktop to use an All-In-One Computer as a Monitor?
When absolutely nothing else works, remote desktop is the final option.
For this, you need software that allows you to control the all-in-one from another computer. This isn’t exactly the same as having an extra monitor.
Instead, you’re directly controlling two computers from one workstation.
You won’t be able to drag windows or files from one monitor to the other, but you can use this setup to do simultaneous tasks. It’s a pseudo workaround.
When it comes to remote desktop software, some care is advised. This software allows people to control your computer remotely, so make sure you use a reputable source.
Microsoft and Apple both make native remote desktop software for their operating systems that you can trust.
If for any reason those are not viable, stick with big-name brands that you can thoroughly verify and vet.
If you choose the remote desktop option, follow the instructions provided by the software developer.
Design and Ergonomics Considerations
When it comes to design and ergonomics, all-in-one computers offer a range of features to enhance user experience:
Stand design: Look for a computer with a sturdy and adjustable stand that allows you to position the monitor at a comfortable height. This can help reduce neck and eye strain during prolonged use.
Tilt and pivot: Consider a computer with a tilt and pivot feature to adjust the monitor’s angle and orientation. This flexibility can improve your viewing comfort and accommodate different working positions.
Connectivity placement: Ensure the computer’s ports and connectivity options are easily accessible and not obstructed by the stand or other components. Convenient port placement can make it easier to connect and disconnect peripherals.
Cable management: Look for a computer with cable management features, such as cable ties or clips, to keep your workspace organized. Effective cable management can reduce clutter and improve the overall aesthetics of your setup.
Gaming and Graphics Performance
All-in-one computers can be a great option for gaming and graphics-intensive tasks, thanks to their powerful processors and dedicated graphics cards. Here are some features to look for:
Graphics card: Choose a computer with a dedicated graphics card, such as NVIDIA or AMD, for improved gaming performance. A dedicated GPU can handle demanding games and graphics applications more efficiently than integrated graphics.
Processor: Opt for a computer with a recent-generation processor, such as Intel Core i5 or i7, for fast and responsive performance. A powerful CPU is essential for running modern games and multitasking.
RAM and storage: Ensure the computer has sufficient RAM and storage to handle demanding games and applications. At least 16GB of RAM and a large SSD can provide the necessary speed and capacity for a smooth gaming experience.
Display features: Look for a computer with a high-refresh-rate display, such as 144Hz or 165Hz, for smooth and responsive gaming performance. A higher refresh rate can reduce motion blur and provide a more immersive gaming experience.
How to Fix a Blinking Monitor Light?
Prepare yourself for a blinking monitor.
Fixing a blinking monitor light can involve a number of different options and steps.
The goal is to isolate the root of the problem and then make repairs based on what you’ve discovered.
To try to diagnose the problem, you can test the monitor, cables, and any adapters on a computer that is working.
Learn all about the meaning of a blinking monitor light and how to fix it here.
Tech entrepreneur and founder of Tech Medic, who has become a prominent advocate for the Right to Repair movement. She has testified before the US Federal Trade Commission and been featured on CBS Sunday Morning, helping influence change within the tech industry.